Showing posts with label Homeschooling. Show all posts

Friday, January 3, 2014

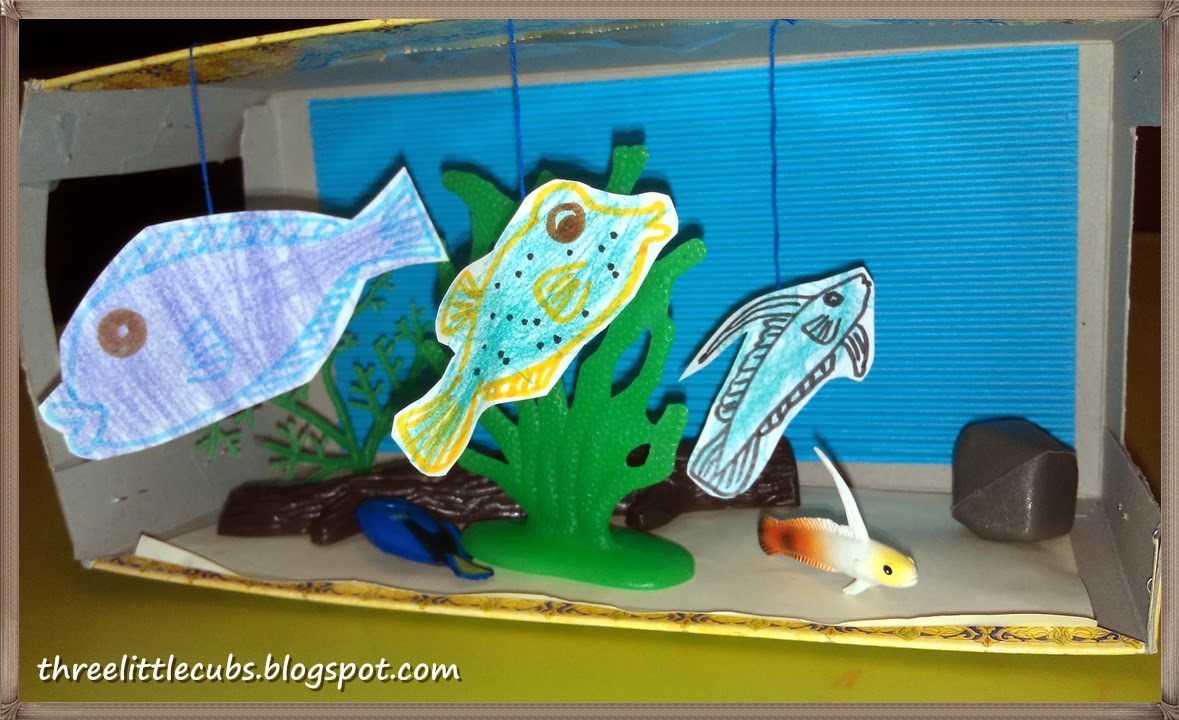
DIY Aquarium

Upcycling empty tissue boxes to make little aquariums to add on to their animal families free play activities.

As a mom to multiples, I strongly encourage them to share their toys.  However, this depends on the nature or size of the toy, if the size is sufficiently big to ergonomically positioned and shared among three of them (such as the DIY cardboard carpark), I would just make 1 piece, and they would share; if the size is small, I would prefer to make 3.  

I usually keep the design simple, because I will be making 3 sets, complicated designs will takes forever to complete.  And most of all, the simplicity will give more space  develop their creativity and imagination.  

Day 1:
I helped them to cut and strengthen the tissue boxes. They will help to glue the corrugated blue paper (as water) and light yellow color paper (as sand) into the respective boxes.  Once they had completed the pasting, they were already arranging their little aquatic friends into the new 'home' 


Day 2:
I drew out some fishes for them to colour. Then I gave them thread and masking tape to hang up the fishes.  They could tape it nicely and independently. 


Syuen's Aquarium

Hung's Aquarium

Juin's Aquarium

They call this "Animals Family"
They insisted that some of the farm animals had to be there when taking this photo.


Thursday, January 2, 2014

Free Play - animals, boxes & lots of imaginations

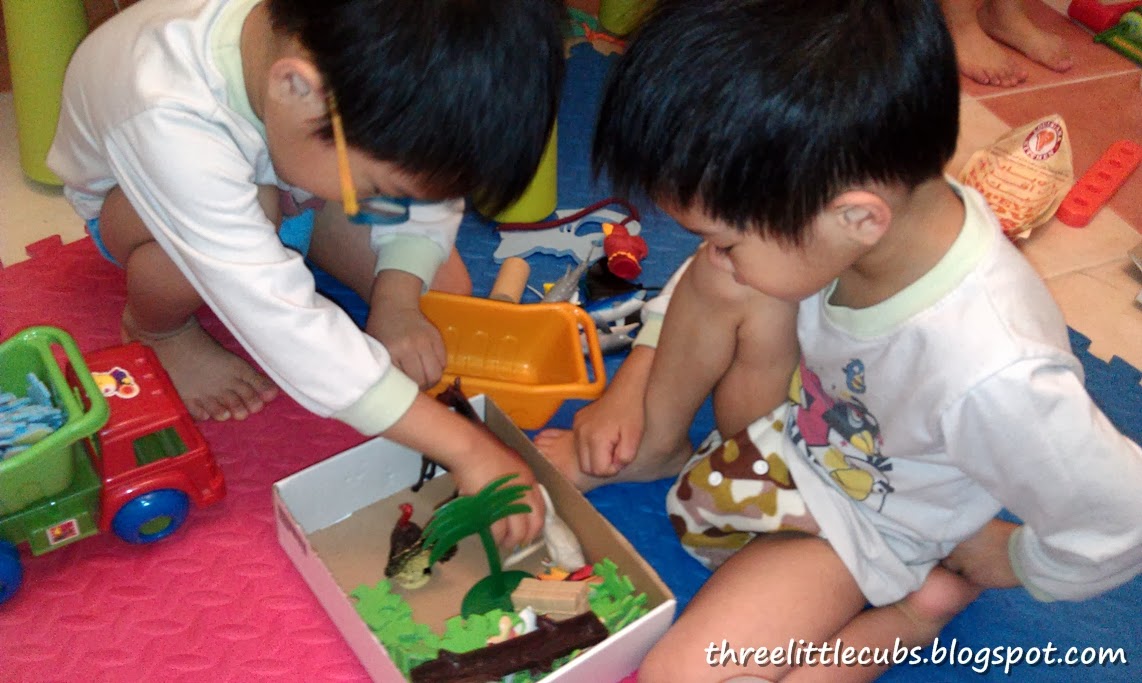
These few weeks the boys were into their "animal family".  Everyday, they would emptied the animals toy box along with other toy boxes (be it trucks, blocks, puzzles or boxes) to create their own free play & stories.   

Hung's animals were having a ride on the truck. Patience & steady hands needed to cleverly balance as many toys as possible on the truck. 

Syuen & Juin were in a discussion... Discussing on how to arrange the animals on the 'beach' 

Those jigsaw puzzle pieces were the sand & hill. The animals are on the beach enjoying sunset. 

Happily Posing with their stories.
From their free play, they had inspired me to make a DIY Aquarium for their Aquatic Families.


Tuesday, November 26, 2013

DIY with cardboard boxes

3 weeks ago, had DIY "roads & parking spaces" using a big cardboard box for their little vehicles. It was quite an ad-hoc idea, just pasting the roads with masking tapes. It would look better if black duct tapes were used.

Today, as I was observing their play, I have this idea of creating DIY mini doll house to facilitate their imaginative play & story telling capabilities. 
We have quite a number of empty cereal/muesli boxes (we keep all the empty boxes because we could always turn these boxes into some new toys). I'd selected these boxes with the cut-out leaves design because it could served as the windows that saves my cutting time. 

Tools used: Scissors, blade & glue
Direction: 
1) Cut out the back portion of the box, 
2) One of the side flaps might fall apart, just glue it back,
3) Using blade, slice the door or windows (3 sides, so that it could open & close)
4) Done! Time to play

Within minutes, manage to create 3 pieces (waiting for the glue to dry takes longer time than cutting). One for each of them for the time being, could create more when they are bored later (which is usually after 2 weeks).

These boxes are very versatile. We could stack it vertically looking like a tall building.


the an additional hole at the side of the box, we could add on stairs to move the people from one level to another.
 Arranging it horizontally


Or even stacking it vertically and horizontally.

However, most of the time, they might not play as how it was suppose to be.. the "house" is now a "row row boat" :)


Wednesday, November 20, 2013

Drawing with watercolour

It had been quite some time since our last painting session.  Should be at least 2-3 weeks ago...
Since the boys had early dinner and daddy will be home late, we could splashed up some colours and do some paintings.

Boys are very interested with colour mixing.  They would happily request for 2 colours and amazed with the results. 

Here, 3 of them with 3 very different styles & approaches, reflecting their individualistic. 

Usually we prefer to do painting on the floor as it is more spacious and less confined as compared to table. The boys could stretch out or move from one side to another to get the painting done. This could encourage them develop their big motor skill (using the whole arm). And most importantly, each of them have their own personal space to work on and less disagreement. :) 

Today, they prefer to draw instead of their usual painting-the-whole-paper-full.  Hence, I took the opportunity to guide them with changing of colours in order to distinguish the various objects in the drawing.  *very busy asking them 1by1 on the story that they are drawing, then guide him with the colours.  

They had a great one and half hour of fun learning, then proceed on with the cleaning up - the brushes & plates, the floor & lastly themselves.  


Their interesting drawings:
 (I am amazed that they could draw quite well considering for their age - 3 yrs old)

Juin & Syuen drew Dhow Boat and relate it with our recent Dhow Cruise. 
Dhow Boat by Juin
with lots of people on the boat & the left brown circle is the steering wheel
Dhow Boat by Syuen
Very sunny day. There are people in the boat, some people jumped into the sea for diving, and some people waiting (outside) at the beach for another boat. 

HAPPY Snowman by Syuen
Snowman eating Apricot from the Xmas Tree. There's a Armadillo next to the tree. Airplane flying in the sky. Faraway could see grandma's house.
Flowers by Hung
2 flowers - 1 'opened' & 1 'not yet open' (1 blossom & 1 bud), 2 butterflies collecting nectar, taking turns to collect from one flower because the other flower 'not yet open' 

Colourful Rainbow by Hung
Rainbow playing with clouds

Aeroplane by Hung
Blue airplane with lots and lots of windows. Horizontal lines on the right bottom corner representing the tiny little houses in rows when view from the plane. 

Car by Hung
Can you spot the tiny little orange wheels with lots of people in the car??

Car Park by Juin
lines representing the parking bay & tiny green cars drawn by mummy

Exploring with colours & techniques:
by Juin

by Juin

by Juin
by Syuen
by Syuen

Friday, April 26, 2013

DIY Paint

Friday is our weekend over here in Qatar. Daddy is not working and the boys are scheduled for personalized haircut from daddy.  While daddy is giving one of the boy his haircut, mummy needed to prepare lunch. However, the other 2 boys were quite 'gluey' today. They wanted to stay in the kitchen with me. I have to quickly think of something to keep them busy in the kitchen. I remembered this DIY edible paint recipe shared by some friends recently, the ingredients needed are simple, hence I gave it a try to let them prepare the paint by themselves.

First, they helped to prepare the 3 primary colours in 3 big bowls. 
Then I gave them a small cup (we use the yogurt cups) each. Guide them to select 2 primary colours and put into his tiny cups. Let them stir and mix the colours. 

Here, they are busy stirring the colour mixture and they were definately amazed with the result (secondary colours).  

mixing the colours at the kitchen

mixing red & blue

mummy, look... red and blue makes purple
Secondary colours

Painting Session:


Syuen
Hung

Juin


Exploring with pouring method

Syuen enjoys painting on his feet


Masterpiece from 2 yrs 8mths old Cubbies 

DIY Edible Paint Recipe:
1 cup multi-purpose flour
2-3 cup water
1 cup salt 
(act as preservatives for the paint, without salt, the paint mixture turns sour within a day)
Food Colouring 
(could use natural colours from food such as beet root (red), tumeric/kunyit (yellow), blue-pea flower/bunga telang (blue) )


Related Posts Plugin for WordPress, Blogger...

Advertlets